STRATEGY UNPACKED: Bernie Collins dissects the red flag dilemma facing the teams in Melbourne
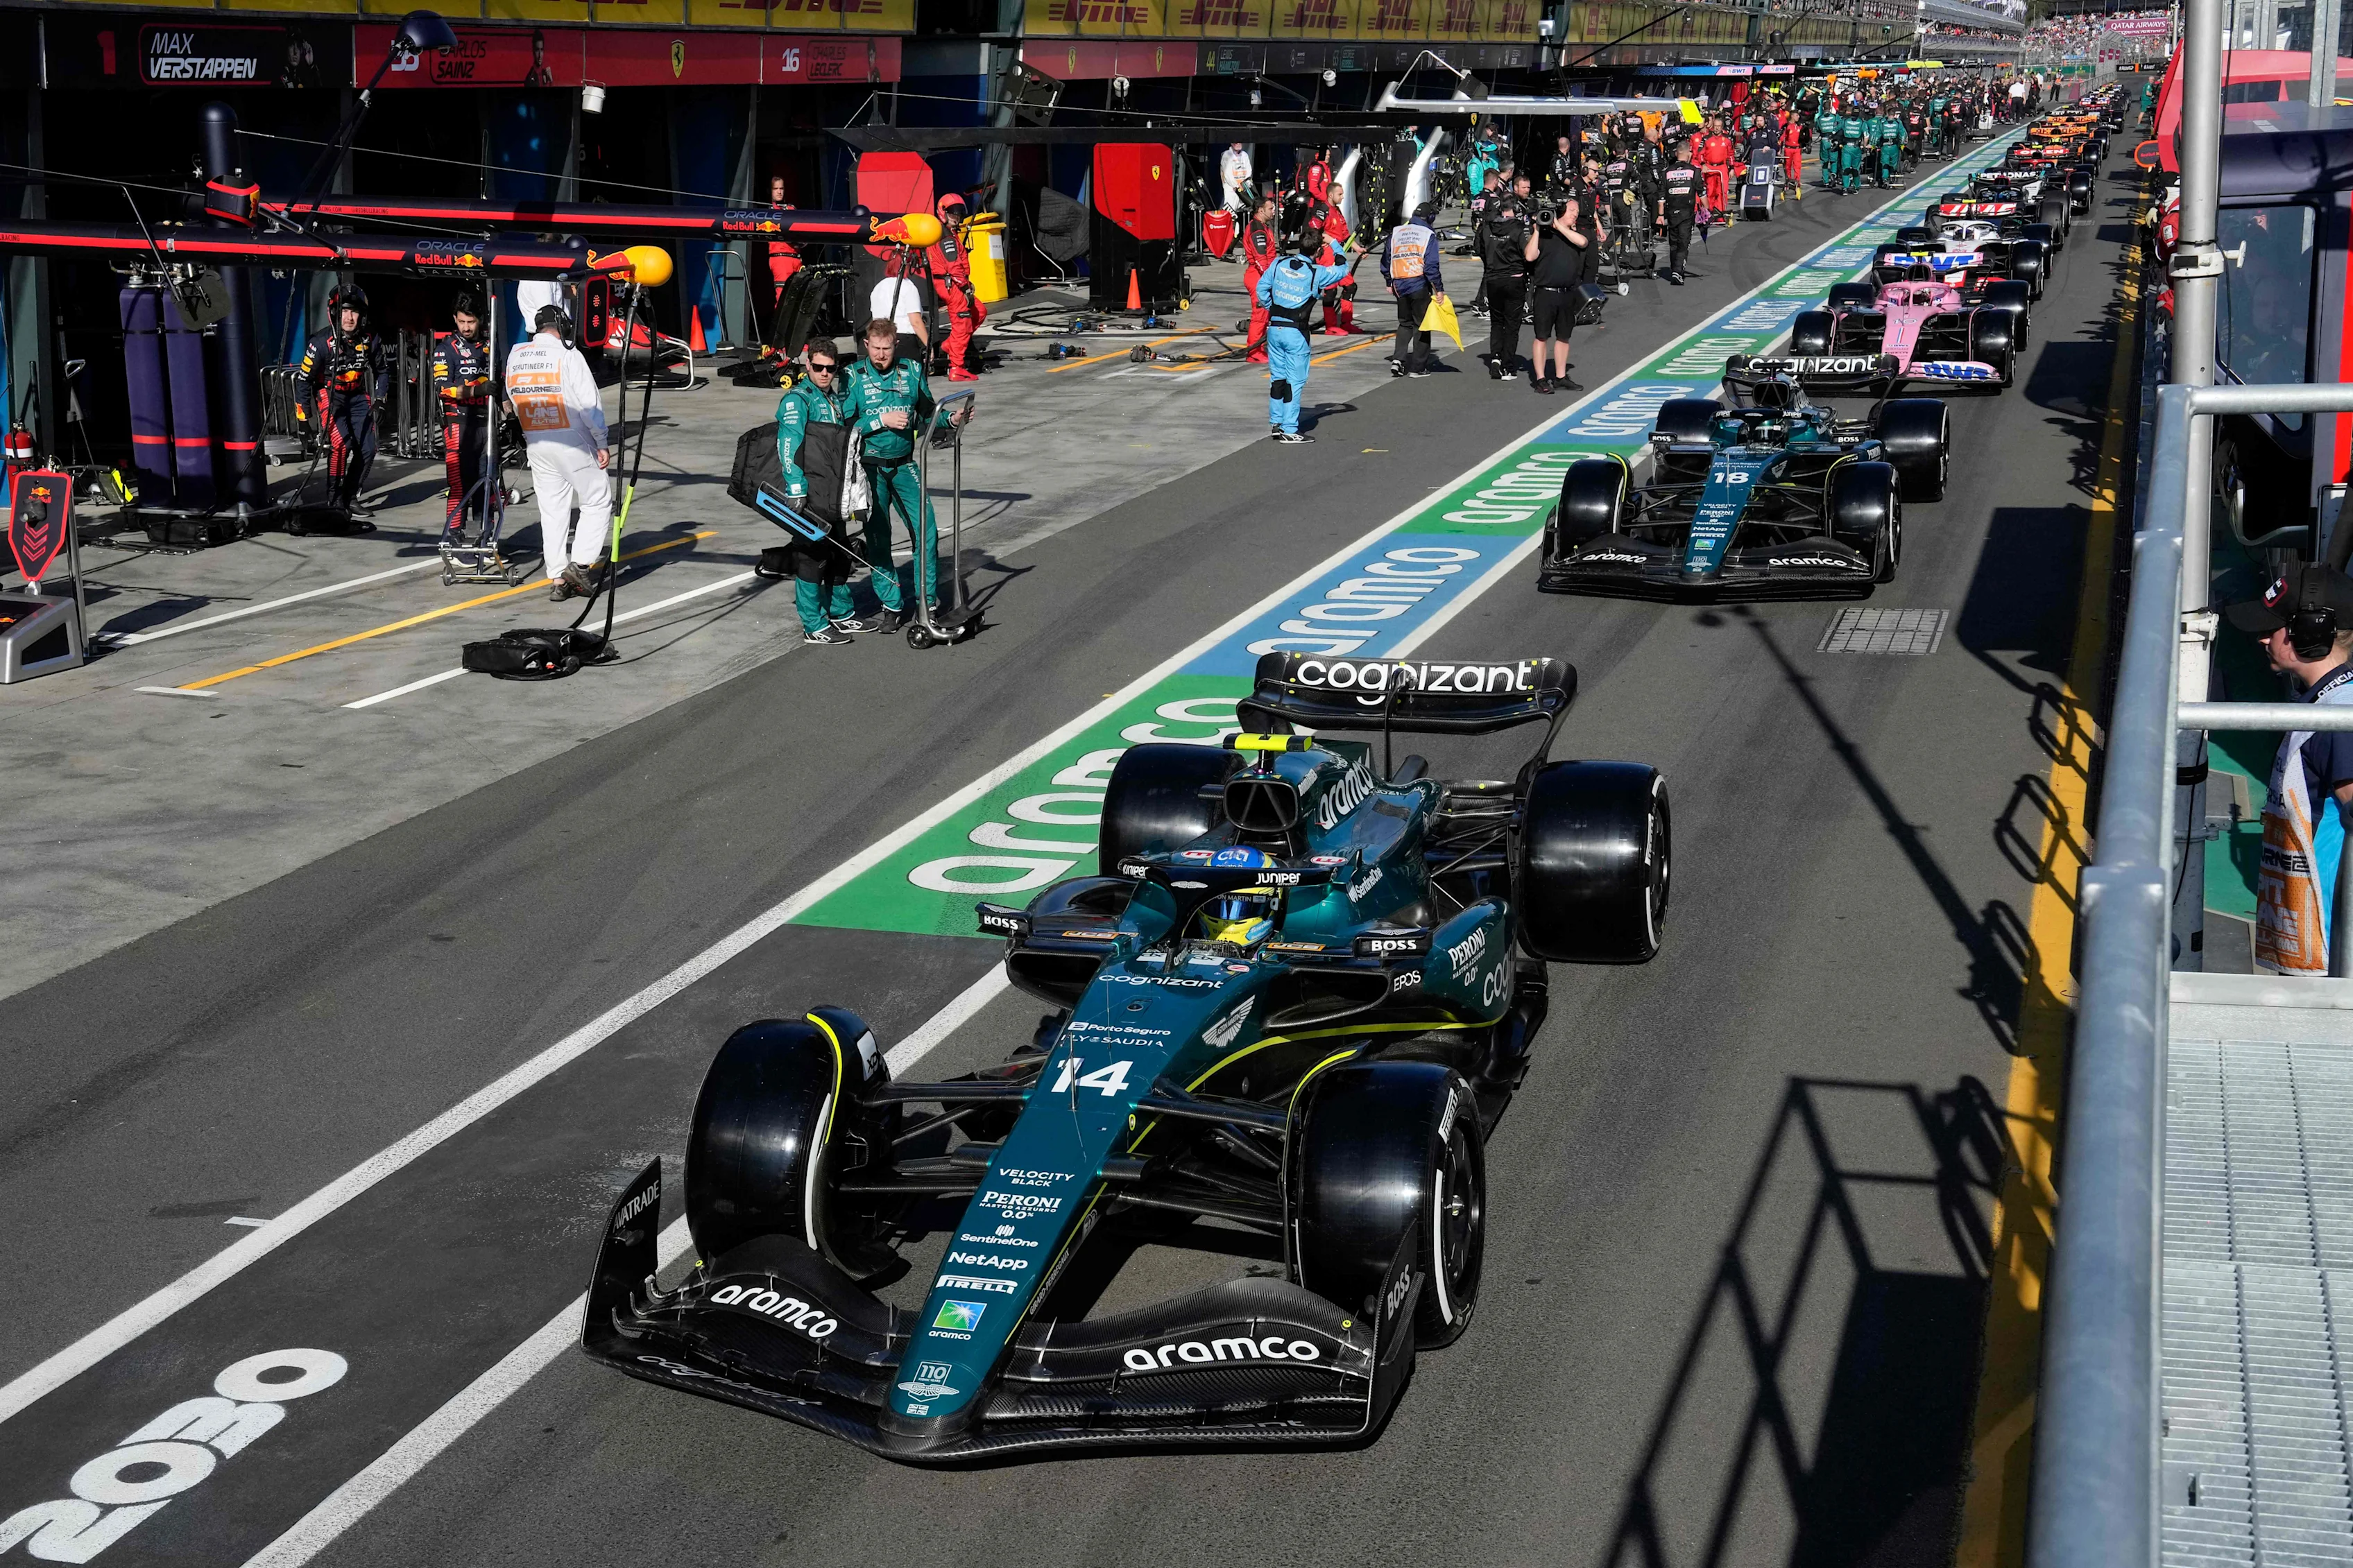
Safety Cars and red flag stoppages characterised the 2023 Australian Grand Prix. How did teams react and why? Who won and lost? The optimum strategy pre-race was believed to a one-stop strategy using the medium and hard tyres. However, rain during FP2 meant that teams did not have the good read on tyre performance…
Albon’s crash on Lap 7 at Turn 7 provided a big decision for the teams. Should they stop at this Safety Car and fit a hard tyre? That would save them stopping again before the end of the race. The Safety Car saves around 6s compared to a normal pit stop as the cars that remain on track are forced to drive move slowly, while the speed of a car through the pit lane is unaffected compared to a stop under green flag conditions.
Next Up
Related Articles
 What are the F1 Fantasy strategies for Belgium and Hungary?
 Ferrari complete first laps around Madring in an F1 car
 How improving Hadjar is learning from Verstappen
.webp) 5 storylines we're excited about ahead of the Belgian GP
5 storylines we're excited about ahead of the Belgian GP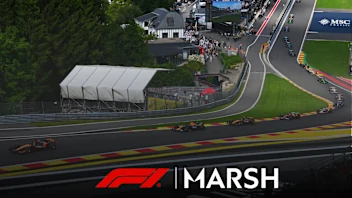 How F1 drivers and strategists tackle the Belgian Grand Prix
 What F1 drivers have been up to before Belgium